

Low-voltage wiring
Plan pathways, device locations and access before walls or ceilings are closed.
Request a Quote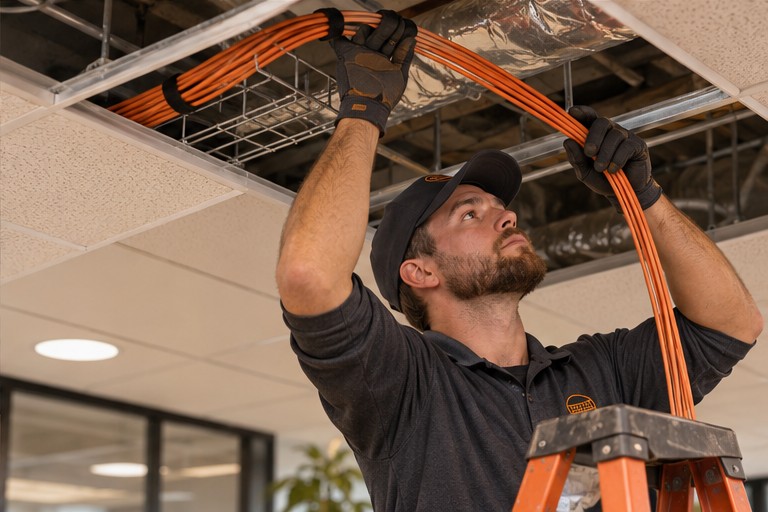
How the work comes together
Plan pathways, device locations and access before walls or ceilings are closed.
- Walk the pathwayReview ceiling access, equipment locations and where cable passes between rooms or floors.
- Coordinate with other tradesShare your drawings and confirm who will provide sleeves, pathways and access before ceilings close.
- Review the resultsAgree on which connections and records your IT team needs at handoff.
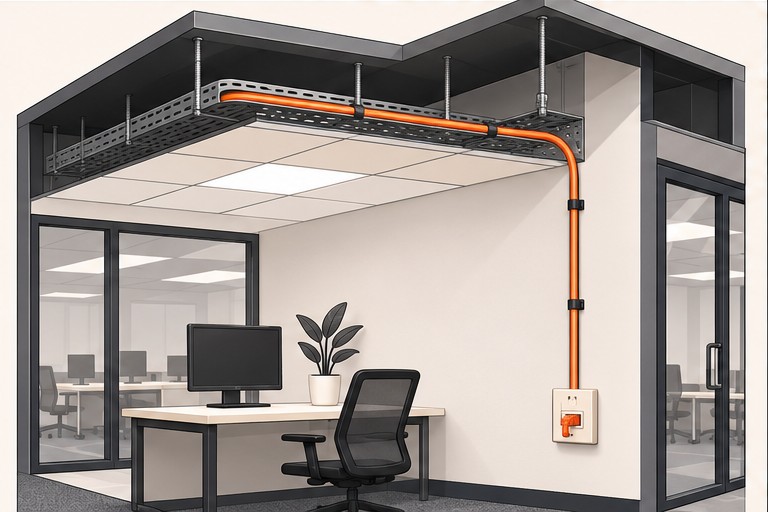
Testing the installation
Share your drawings and confirm who will provide sleeves, pathways and access before ceilings close.
See the testing and handoff guide
Low-voltage wiring video
Frequently asked questions
What should we check before the work starts?
Review ceiling access, equipment locations and where cable passes between rooms or floors.
What should we verify before handoff?
Share your drawings and confirm who will provide sleeves, pathways and access before ceilings close.
How can we get a quote?
Share your site details, schedule and any access or downtime constraints.
Related services
 Structured cabling
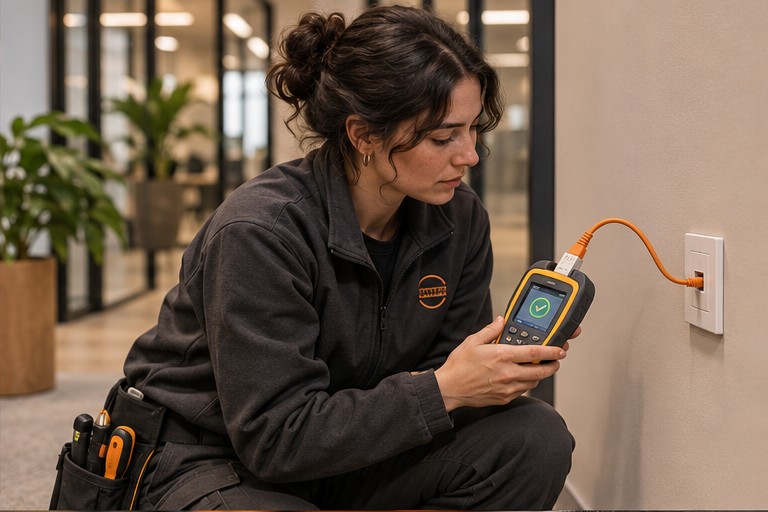 Data cabling
Where this work fits
Free Site Visit & Consultation
Fast estimates and same-day quotes are available when we have enough detail to price the work. Tell us about your site and what you need installed.
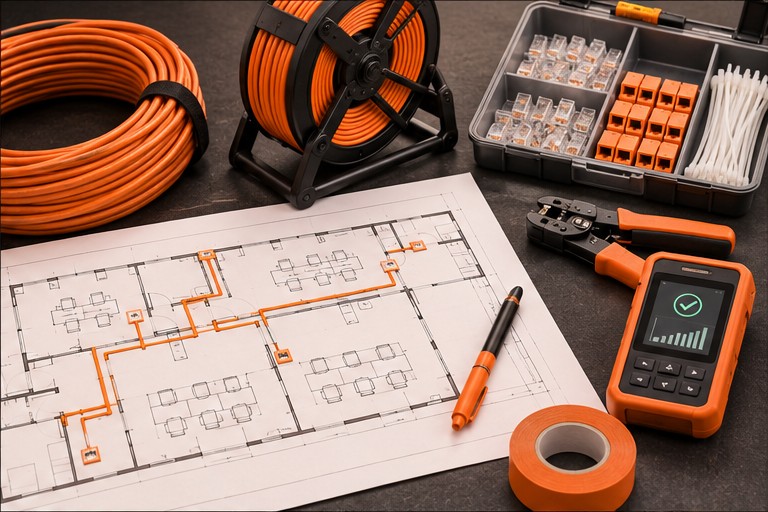
What to have ready
Have the project address, property type, target date, and a floor plan or site photo ready. If you have multiple sites, include the site count and any differences in scope.